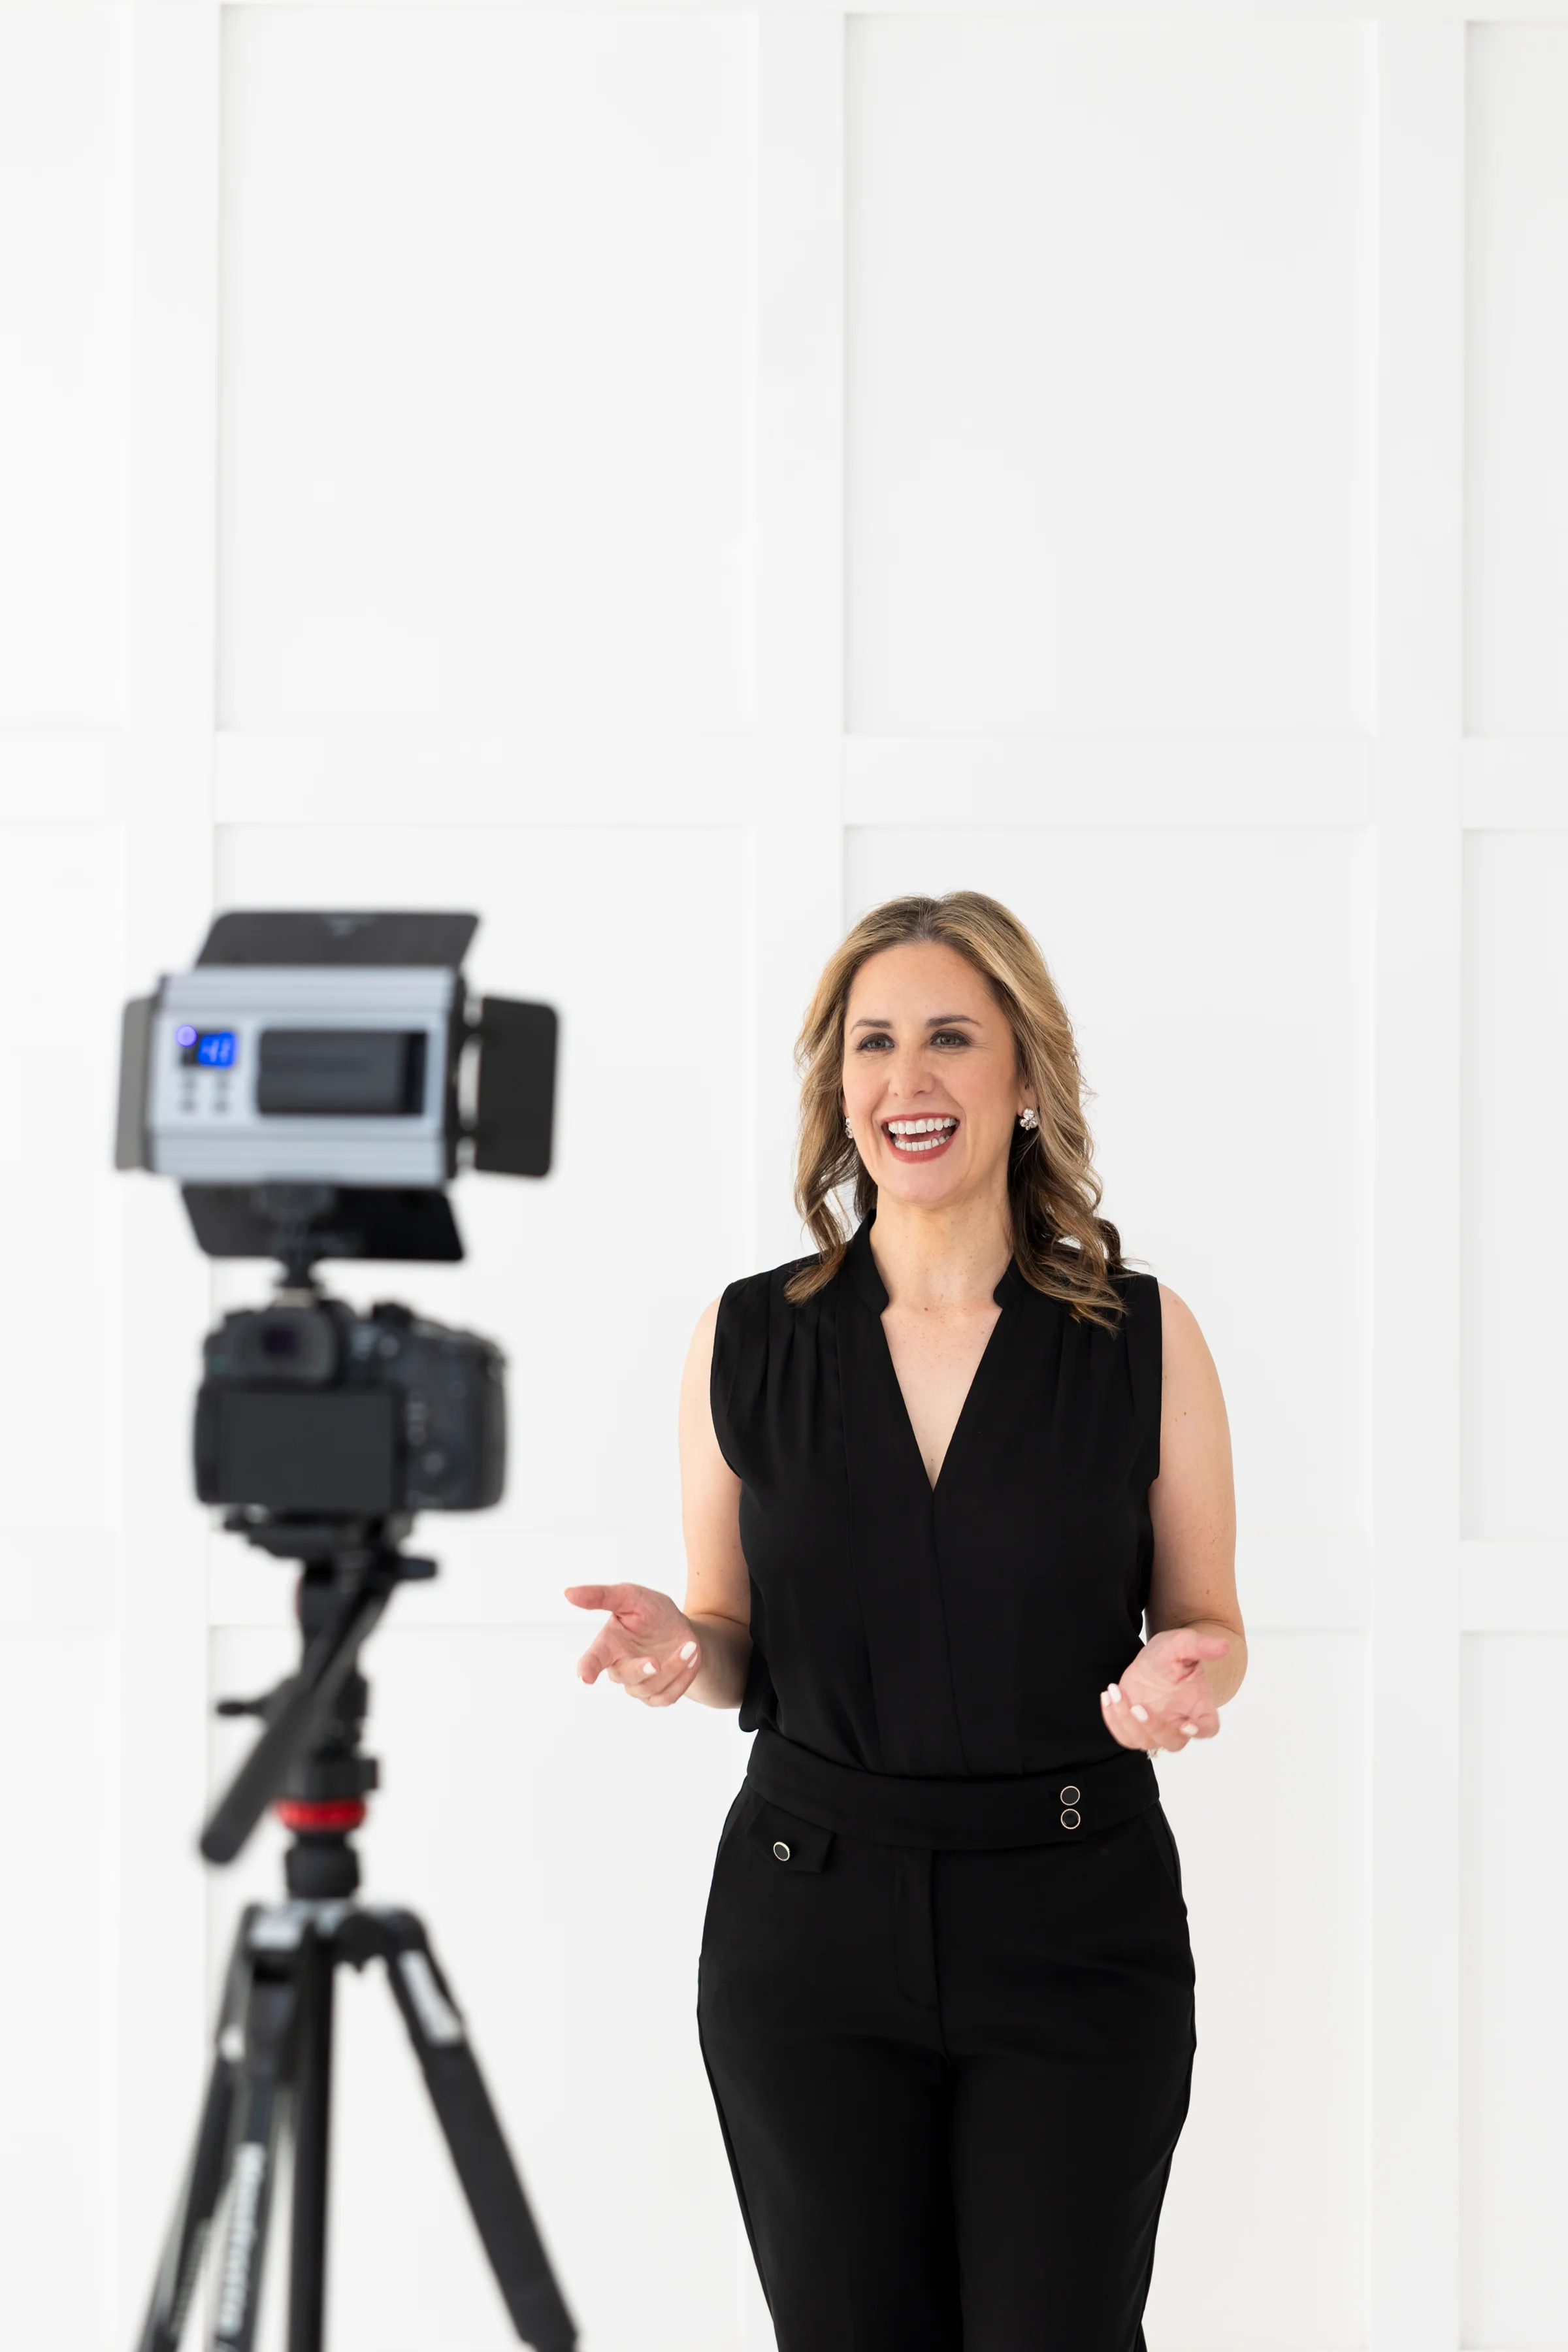
Strong video begins with a clear message and a prepared speaker. Production choices should make that communication easier to see, hear, and use.
Laressa created the Video Success Blueprint from her experience as a video producer, media strategist, and communication coach. The guide remains useful for professionals recording interviews, webinars, thought-leadership videos, lessons, and short-form content.
The online edition below preserves the ten-part framework and concentrates on the principles that remain dependable across tools and platforms. The original PDF is also available unchanged.
Original guide
Open the complete 25-page PDF.
The original February 2025 guide is preserved at its established public address. You can open it here or return through an earlier delivery email or saved link.
Open the PDF guideOpens in a new tab. No email address required.
Video Success Blueprint
Confidence on Camera
A composed camera presence helps people concentrate on your message and experience you as prepared, credible, and approachable.
What matters
On-camera confidence is a communication skill. It becomes more dependable when you prepare the message, practice under realistic conditions, and learn how your voice and body respond to the lens.
The camera can make self-consciousness feel unusually intense because it offers little visible feedback. Direct your attention toward the person who needs the information instead of monitoring every detail of your appearance or delivery.
Practical guidance
Begin with a short recording
Record one useful idea in 60 seconds. Review it once for message clarity and once for delivery. Choose one adjustment for the next attempt instead of trying to correct everything at once.
Prepare message anchors
Use three to five prompts that identify the opening, key ideas, and close. Anchors give the recording structure while allowing your language to sound natural.
Speak to one person
Picture a colleague, client, or audience member who would benefit from the message. Speak to that person through the lens and keep your attention on what they need to understand.
Settle before the first sentence
Plant your feet, release unnecessary tension, take a steady breath, and look into the lens before beginning. A controlled start makes it easier to establish a useful pace.
A credible on-camera presence grows from preparation, clarity, and attention to the audience.
Video Success Blueprint
Camera or Phone?
Choose the simplest tool that can produce the quality, flexibility, and workflow the project actually requires.
What matters
A current smartphone can handle many interviews, updates, short lessons, and social videos. A dedicated camera becomes useful when the work requires precise lens control, low-light performance, extended recording, or a more complex production setup.
The decision should follow the communication goal. A more expensive camera cannot repair unclear thinking, weak sound, or a message that does not fit its audience.
Practical guidance
Define the final use first
Identify where the video will appear, how long it needs to remain useful, and the level of production the audience expects. Those constraints should guide the equipment choice.
Use the phone when speed matters
Phones are well suited to frequent short-form recording, quick updates, and projects that need a simple path from capture to publishing.
Use a camera when control matters
A mirrorless or professional camera is a stronger fit for polished interviews, brand films, and projects that benefit from lens selection, manual exposure, or a dedicated audio setup.
Improve support before upgrading
A stable frame, thoughtful lighting, and a well-positioned microphone often improve a phone recording more than a new camera body would.
The right camera is the one that supports the message and keeps the production dependable.
Video Success Blueprint
Lighting 101
Simple, consistent lighting helps viewers read your expression and keeps the visual environment from competing with your message.
What matters
Good lighting starts with direction and control. A soft source placed in front of you and slightly to one side creates dimension while keeping the eyes and expression visible.
You can build an effective setup with a window, a lamp, or a compact video light. Consistency matters more than complexity, especially when several videos need to feel like part of the same series.
Practical guidance
Face the strongest light source
Place a window or main light in front of you at a slight angle. Avoid sitting with a bright window behind you unless you can control both the background and the light on your face.
Soften harsh shadows
Move the light farther away, diffuse it, or use a white wall or reflector to return a small amount of light to the darker side of the face.
Separate yourself from the background
Leave some distance between you and the wall. A small background light or a naturally brighter area behind one shoulder can add depth without becoming distracting.
Protect continuity
Mark the light and chair positions or take a reference photo when a recording will continue on another day. Consistent placement makes editing far easier.
Lighting serves the communication when it makes the speaker easy to see without calling attention to itself.
Video Success Blueprint
Audio Essentials
Clear sound protects meaning, vocal credibility, and the listener’s ability to stay with the message.
What matters
Audio problems often come from distance and the recording environment. A microphone that is reasonably close to the speaker in a quiet, softened room can outperform an expensive microphone placed poorly.
Always listen to a test through headphones. Room noise, clothing friction, echo, and electrical hum are much easier to fix before the full recording begins.
Practical guidance
Choose a quiet, softened room
Curtains, rugs, upholstered furniture, and bookshelves reduce reflections. Turn off fans, alerts, and equipment that introduces a steady hum.
Keep the microphone close
A lavalier, small directional microphone, or desk microphone should be placed close enough to capture the voice clearly without rubbing against clothing or entering the frame unintentionally.
Monitor a test recording
Listen for distortion, echo, background noise, and inconsistent volume. Speak at the energy you will use in the real recording so the test reflects the actual conditions.
Plan for captions
Accurate captions support accessibility and help people follow the message when they cannot listen with sound. Review automated captions for names, technical terms, and punctuation.
Viewers can only respond to a message they can hear and understand.
Video Success Blueprint
Framing and Orientation
Frame the recording for its primary destination while leaving enough flexibility for the versions you may need later.
What matters
Horizontal video remains useful for websites, webinars, presentations, and long-form platforms. Vertical video fits phone-first viewing. Square framing can work in feeds, but it is usually a derivative format rather than the best master recording.
Orientation is only one part of framing. Eye line, headroom, camera height, background, and space for captions all affect how intentional the final video feels.
Practical guidance
Choose the primary destination
Decide where the full video will live before recording. Build the master frame for that destination and list any additional formats the project must support.
Place the lens near eye level
A level lens creates a direct, professional relationship with the viewer. Raise a laptop or phone rather than looking noticeably down into it.
Leave useful margins
Avoid crowding the top and sides of the frame. Extra space makes it easier to add names, captions, or alternate crops without covering the speaker.
Stabilize the shot
Use a tripod or solid support and confirm the frame before every take. A stable image allows the viewer to concentrate on the speaker.
Framing should reflect how the audience will watch and what they need to see.
Video Success Blueprint
Scripted or Spontaneous?
Select the amount of structure that protects accuracy while allowing your delivery to sound like a real conversation.
What matters
A complete script is useful when wording must be exact, the material is complex, or the production needs tight timing. A brief outline often works better for expert commentary, short lessons, and personal observations.
Many speakers benefit from a hybrid approach. Script the opening, close, technical language, and essential call to action, then use prompts for the explanatory sections between them.
Practical guidance
Script what must be exact
Write out legal language, numbers, names, definitions, and sentences that must fit a precise duration. Mark the words that need emphasis.
Outline what you know well
Use a small set of prompts for examples, explanations, and transitions. Each prompt should identify the idea rather than prescribe every word.
Read the script aloud
Written language often sounds formal when spoken. Shorten sentences, use contractions where they fit your voice, and add pauses where the listener needs time to process an idea.
Record in complete sections
Divide a longer script into logical blocks and finish the thought before stopping. Editors can join complete ideas more naturally than fragments cut in the middle of a sentence.
Useful structure frees the speaker to concentrate on meaning and connection.
Video Success Blueprint
Music and Mood
Music can support a video’s emotional direction, but it should remain subordinate to the voice and the purpose of the piece.
What matters
A music choice signals pace, seriousness, energy, and audience expectations before the viewer has processed the full message. That makes selection a communication decision rather than a decorative one.
Professional videos also require proper licensing. Keep documentation showing where the track came from and what uses the license permits.
Practical guidance
Name the intended feeling
Choose one or two words for the emotional direction of the video, such as focused, reassuring, urgent, or optimistic. Use those words to evaluate possible tracks.
Protect the spoken message
Instrumental music is usually easier to place under dialogue. Lower it enough that the listener never has to work to understand the speaker.
Use changes with purpose
A shift in music can mark an opening, transition, or close. Too many changes create competition and can make a straightforward message feel overproduced.
Confirm the license
Check that the license covers the platform, organization, advertising use, geography, and length of time the video will remain available.
The strongest music choice supports the message without competing for attention.
Video Success Blueprint
Editing Basics for Beginners
Editing turns the recording into a clear sequence by removing distraction, protecting momentum, and emphasizing what the audience needs most.
What matters
Start with the message rather than effects. A useful first edit selects the strongest take, removes repetition and long resets, and keeps the argument or story easy to follow.
Visual polish should remain consistent and restrained. Titles, captions, transitions, color, and music all need a reason to be present.
Practical guidance
Organize before cutting
Label the files, identify the best takes, and note where each section begins. A simple folder and naming system prevents avoidable mistakes later.
Build the message first
Assemble the spoken content in the right order before adding graphics or music. Confirm that each section advances the purpose of the video.
Remove what slows understanding
Trim false starts, duplicated points, excessive pauses, and material that is accurate but unnecessary. Leave enough breathing room for the delivery to feel human.
Review the complete export
Watch the exported file from beginning to end and verify names, captions, audio levels, graphics, transitions, and the final call to action.
Editing is most valuable when it makes the message easier to follow and remember.
Video Success Blueprint
Repurposing Video into Microcontent
A well-structured long recording can become several useful short pieces when each excerpt is edited to stand on its own.
What matters
Short clips extend the life of interviews, webinars, presentations, and educational videos. The strongest excerpts contain one complete idea, a clear opening, and enough context for someone who has not seen the original.
Repurposing works best when it is planned before recording. Distinct sections, concise answers, and complete examples give an editor cleaner material to work with.
Practical guidance
Find complete ideas
Mark concise explanations, practical tips, useful distinctions, and memorable examples. Avoid clips that depend on several minutes of missing context.
Write a clear opening
Add a brief title or opening sentence that tells the viewer why the excerpt matters. Accuracy and relevance are more durable than manufactured drama.
Adapt for the destination
Adjust framing, length, captions, and accompanying text to the platform. Keep the central meaning consistent even when the format changes.
Point to a sensible next step
Invite the viewer to read the full article, watch the complete conversation, consider a specific question, or visit the relevant service page.
Repurposing earns attention when each short piece provides value on its own.
Video Success Blueprint
Measuring the Value of Video
Evaluate video according to the job it was created to do, using evidence that connects attention with a meaningful professional or business outcome.
What matters
A useful measurement plan begins before production. Define the audience, the desired response, the place the video will appear, and the decision the results should help you make.
View count alone rarely answers whether a video worked. Completion, qualified responses, registrations, inquiries, sales conversations, or repeated internal use may provide stronger evidence, depending on the goal.
Practical guidance
Set one primary objective
Choose the result the video is responsible for supporting, such as explaining an offer, preparing an audience, building trust, or prompting a consultation request.
Match the metric to the objective
Use watch time and completion for message retention, click-through for traffic, qualified inquiries for lead generation, and direct feedback for internal communication or training.
Track the distribution context
Record where and when the video was used, who received it, and what accompanied it. Performance cannot be interpreted responsibly without knowing how the audience encountered the piece.
Use the result to improve the next video
Compare the opening, length, topic, delivery, and call to action with the response. Make one or two evidence-based adjustments rather than changing the entire approach at once.
Video creates value when it helps the right audience understand, trust, decide, or act.
A useful production standard
Keep the message in charge of the production.
Equipment, editing, and distribution all matter. Their purpose is to help the speaker communicate clearly and help the audience understand what to do with the information. Begin with that standard, then make each technical choice support it.
Open the original Video Success Blueprint PDF